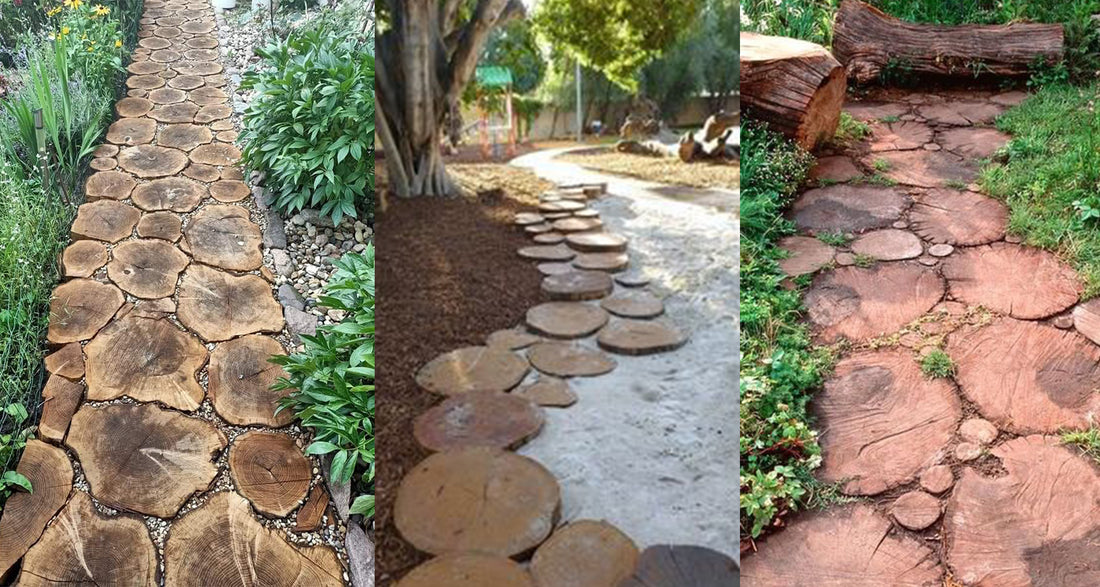
Now is the perfect time to get outdoors and start working on those projects you’ve been dreaming about all winter. If you’re looking for a unique and eye-catching way to spruce up your yard, you may be considering using green wood slices, or “wood cookies,” to create a garden path, walkway, or patio.
While this DIY project can certainly add rustic charm and character to your outdoor space, there are a few things you should keep in mind before getting started:
First, using wood for this purpose is not as rugged as a material such as rock or stone, however, using these steps below will ensure the wood will last longer.
Since green wood is freshly cut and has not yet had a chance to fully dry out. This means it can be more susceptible to warping and cracking as it dries — especially being exposed to the sun, wind, and rain outside.
Second, wood cookies are 100% end grain on both sides, meaning they are even MORE likely to split, warp, and crack as they dry.
And lastly, water is wood's worst enemy. It causes the wood to swell and promotes the growth of rot and mildew. When water seeps into the wood, it breaks down the fibers and weakens the structure. Over time, this can lead to cracks, splits, and warping.
With all of that in mind, here are the steps we recommend for preparing and sealing your wood cookies to make a garden project like this last for years to come:
Step 1: Stabilize and Dry
Cracks in your wood cookies are not only unsightly, but they also weaken the structure of your project. To prevent your wood from cracking, first treat it with Pentacryl, our green wood stabilizer. If your wood has been cut for a while and has a lower moisture content, use Wood Juice. This is a stabilizer for semi-dry wood to prevent it from cracking further. For full wood cookie treatment directions, see our guide on treating cross-cut sections of wood. Be sure to dry the wood slowly to help prevent cracking.
If using wood that is already dry (with a moisture content below 8-10%), go ahead move to Step 2.
Step 2: Seal
Once the wood has completely dried, it will need to be sealed prior to being installed. This will help to protect it from the weather and will keep the Pentacryl or Wood Juice from leaching out. We recommend using a heavy-duty sealer like a marine spar varnish. Apply 2-3 applications (letting the wood dry in between coats) to all surfaces of the wood — including the bark. This will protect the wood and help it last longer.
Step 3: Lay the Wood
To keep the wood from sitting directly in the dirt, we recommend laying 1-2" of small stones or gravel down first. This will help with the drainage and keep the wood slices above any standing water.
Next arrange your wood pieces in the desired pattern and fill in the gaps between the wood with smaller stones or pebbles. This will again help with the drainage and help keep the wood in place.
Step 4: Admire your Work!
If you're planning to create a garden path, walkway, or patio with wood cookies this spring, be sure to follow these steps for preserving your wood cookies and keeping them looking great all season long. With a little bit of effort up front, you can have a beautiful and unique outdoor space. So get outside and start crafting - we can't wait to see what you come up with!
To give you some inspiration, here are some beautiful examples we found on Pinterest:

via lushome.com

via lushome.com

via guiadejardineria.com

via houzz.com

via curbly.com

via Jessica Jones

via Nick Timothy

via Cin Ek


